Moodboards and concept building: the golden rules of decorating. Whether you are redoing a whole house or simply setting a table, it all starts with a concept to hold everything together — here is how to get there, from the inspiration board to the finished room.
That concept will keep you clear of anything off-key or incoherent, and let you approach each room, each scene, calmly and with a clear head.
Build your moodboard
A moodboard, literally a board that holds a mood, is a genuinely useful tool in any creative project: it shows the atmosphere you are aiming for. It comes in three forms — physical, digital, or a mix of the two — and helps you find first a thread, then a balance, by turning abstract ideas into concrete pairings of shape, material, colour and texture.
The physical moodboard
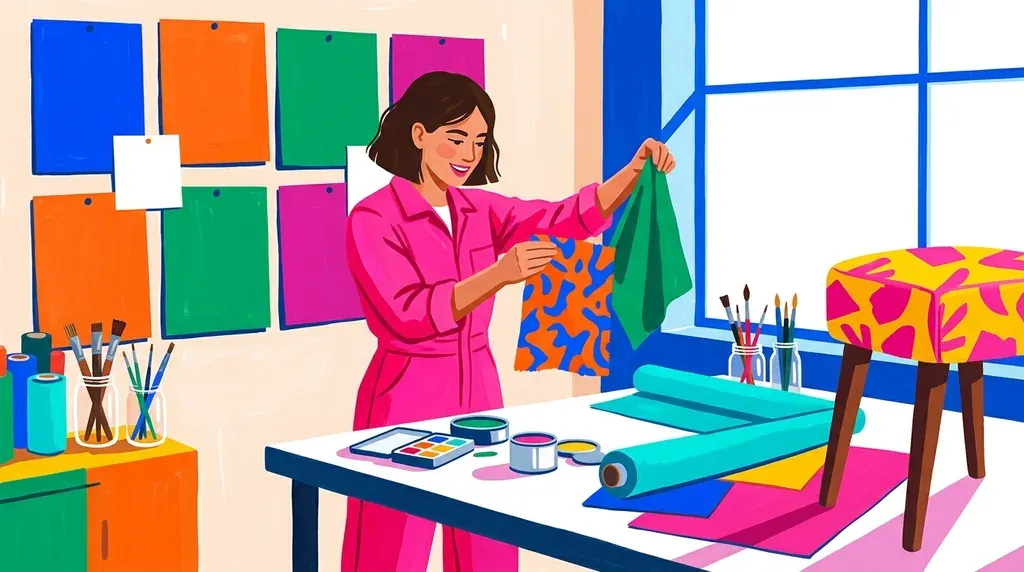
This one suits anyone who enjoys cutting, sticking and assembling images: magazines, fabric swatches, materials, photographs, glue, pins, scissors, markers. A cork board or a large sheet of drawing paper is support enough. Lay out your pieces of inspiration, pair them, move them around until the whole thing sits well together, questioning your pairings as you go and stepping back between sessions.
The digital moodboard
Here your ally is the screen — Pinterest above all, built around the very idea of pinboards — alongside layout software such as InDesign or Photoshop.
The mixed moodboard
It brings the two together: research, images and quotations gathered online, printed out, then pinned onto a board by hand. A moodboard changes over time, so stay open to that — unpin, repin, revise.
From moodboard to concept
Once the board is assembled, the work is to turn what is on it into real decorative choices, and a few questions get you there. Which colours dominate the board? What are the main and secondary tones (say 50% sand, 25% sky blue, 25% lagoon green for beach imagery, with the sand shades on walls and furniture, the blues and greens on smaller pieces)? Do the glossy textures become velvet, silk, silverware? Does the layering of colour read as solid blocks or as pattern?
Making the concept real
This stage takes time, though it takes no training in design: redraw the room to scale, divide the plan into zones according to how each is used, collect fabric swatches in the textures and colours you want, place them in the sketch, choose furniture designs that respect the proportions of the zones you set, and photograph each piece to put it on the board. When in doubt, make more boards.
Respect the space you have
Odd shapes, low ceilings, dark corners, not enough storage: finding clever decorative answers to those constraints is your job. Write everything down in a notebook, weigh the pros and cons, and borrow from the solutions other people have found for the same problems.
Be practical
Do not plan a scheme that ignores how you actually live: luxury furniture and silk rugs make little sense when a small child rules your days. Do not buy furniture you will never use, think about storage and about the space you need to move through, and keep a single thread running from one room to the next.